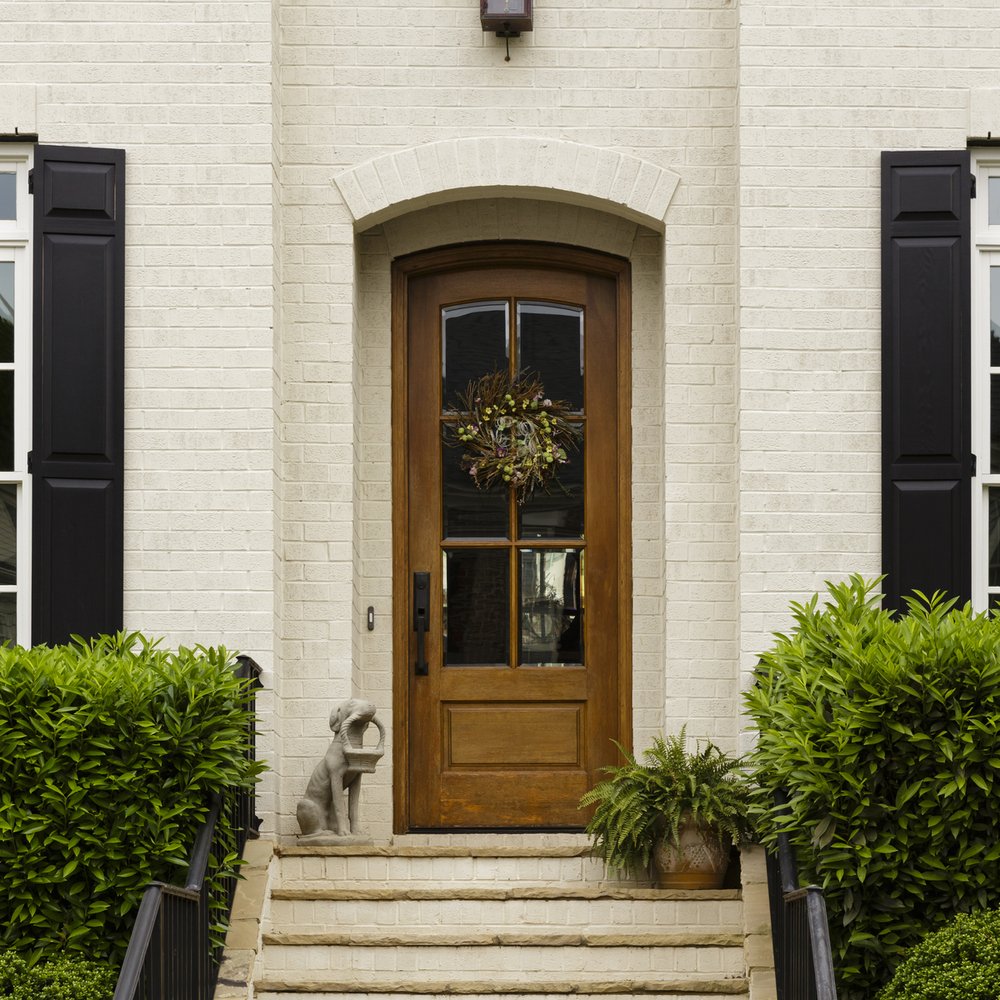
Wondering how to paint an exterior door?
This home improvement task will not only make a great first impression on visitors, but it will also improve your home’s curb appeal with minimal expense and effort. If the front door is structurally sound, it may need only sanding and a coat of paint or varnish, sparing you the expense of buying and installing a new door. You will also enjoy the satisfaction of keeping one more item from heading to the landfill. Once you’ve selected quality paint in a color that works with your home, following the instructions below will help you achieve a professional finish for your front door.
Warnings: Wear safety goggles and a NIOSH-approved respirator with the correct filter. Properly dispose of rags as they can be highly flammable.
Things you need to paint an exterior door
- Hammer and nails
- Electric sander
- 60- and 100-grit sandpaper
- Two sawhorses
- Mineral spirits or liquid deglosser
- Masking tape, marker, and plastic bags
- 2-inch paint brush
- Scraper
- Exterior enamel paint
How to paint an exterior door
- Remove the door: Scraping, sanding, and painting the door can be accomplished more easily if you remove it from its hinges and place it on a horizontal surface. Tap hinge pins out with a hammer, starting with the bottom hinge. Raise your door slightly to free it from the hinges, and then place it on a workbench or between two sawhorses. Remove door handles, door shoe or kick plate, and any other hardware.
- Scrape and sand the door: Inspect the door and scrape off any paint drips, thickly applied coats of paint, or blistering or flaking paint, if present. Using an electric sander, use 100-grit paper and take off the old paint down to the wood. Wipe with a tack cloth and apply mineral spirits or liquid deglosser.
- Prime the door: Using a primer that matches your finish coat, prime the entire door. When one side is dry, flip the door over and prime the other side. Follow the primer manufacturer’s directions for recommended drying time before applying the first coat of paint.
- Paint the door: Choose a premium-quality exterior enamel. You don’t want to go through the effort of sanding only to apply a paint that will fade or flake off. Paneled doors offer a greater challenge than flush doors because of their details. For a paneled entrance door, begin by using a 2-inch brush to paint the center panels. Paint across the grain and follow up by painting with the grain. Paint at a steady and sufficient pace to keep the paint from getting tacky while working to ensure a smooth surface. After the center panels, paint the rails and then the stiles. Protect the paint from dust and the elements while it dries, and after the first coat has dried thoroughly, sand out any drips before applying the second coat.
Reinstall the door: Put all the hardware back on and rehang the door on its hinges.
If you’re thinking of selling your home this spring and want to start fixing things up around the house to maximize value, click here to check out our website for more staging tips. Staging and prepping your home before selling will help you sell faster for more money!
